Hey all! I'm back with another quick update on the bathroom reno! Life has been busy lately so I haven't been able to get as much done in there as I'd like, but today I finally made more progress! This is THE LONGEST RENOVATION ever but it's looking so good!
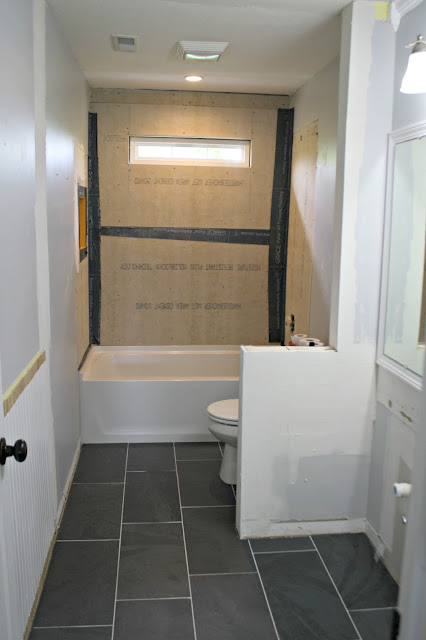
I was pretty excited about this so wanted to share it. You may remember we added a window in here -- it was always my dream to have the natural light and it was just as awesome as I imagined:
Many of you asked how we'd let the light in if we had a shower curtain -- well I had something in mind for that. First of all, even if I used a regular curtain I was planning to leave it open all the time. But I was always planning on going very high with the shower curtain so a regular one wasn't going to work. I didn't want the bar landing right in your line of sight to the window.
You can buy extra long curtains but I wanted a specific look for this tub -- I've always loved the double curtain look. I think it looks super custom and very pretty. Like drapes for your tub. 😆 And drapes are exactly what I got!
I grabbed a 96" white pair from HomeGoods for $25. (You cannot beat their tall drapes -- two for that price!) I made sure to get some with grommets -- they usually have a bunch of those.
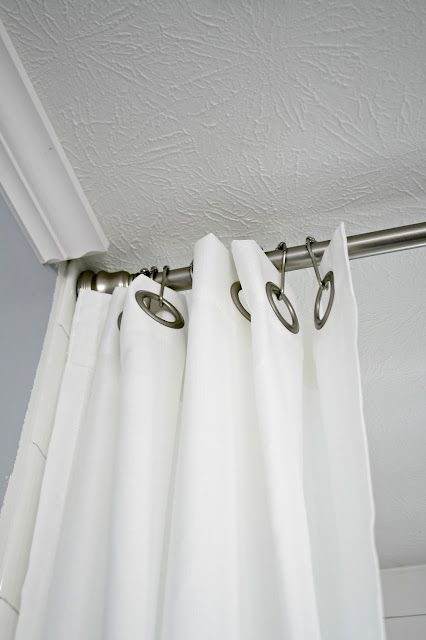
I found these curtain rings at Target that can be closed -- I wanted that so the drapes would stay put when we open and close it:
I got this extra long shower curtain liner and had to figure out how to hang it along with the curtains so it could be fully closed. I could have gotten another curtain rod -- one for the liner and one for the curtains. You can also buy a double shower rod! How cool is that? But didn't want to spend any more money. :)
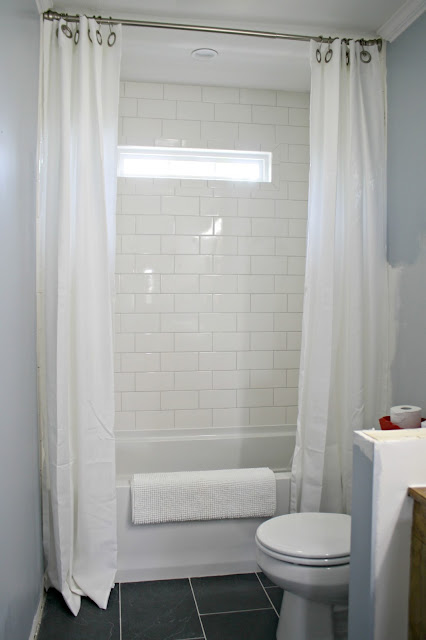
So I just hung the liner and the curtain on the one side together -- and you can't even tell:
Isn't that pretty? I love the look! And that tile!! I don't think I've shown you the shower just yet. You can see why I want to show it off! These babies are staying open! I am going to have to hem the bottom of these just a bit. 😫 I'll drag the ironing board in here and use my hemming tape while they're still hanging.
When I was trying to decide what to do with the liner I looked up some ideas and quite a few people I found online cut theirs up the middle to get this look, then they overlap them when they close the shower. I almost did that but since our boy uses this one I don't want to worry about him getting it just right every time. You really can't even see the liner when they are open.
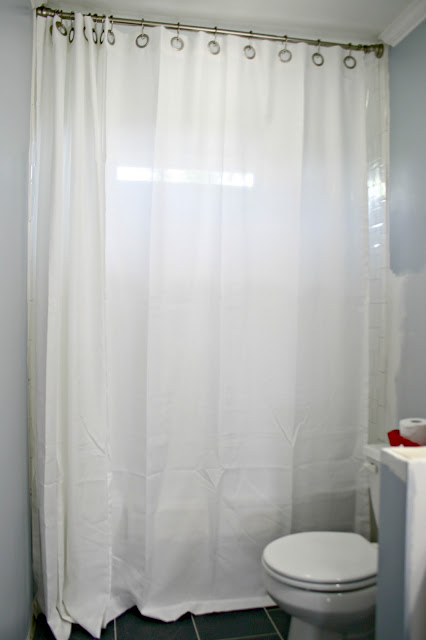
Here's a look when the curtain is shut:
Since these are staying open I couldn't care less how it looks when closed. But if you want it to be more symmetrical when closed you can cut the liner down the middle (like I mentioned) and hang the two liners and two curtains together. (If you did that you could leave your fabric stationary if you wanted!) Or you can hang a second/double curtain rod and put the liner on that, then hang your curtains on the outer one.
And of course you can go with any design or color you want! Your options are endless.
But again, I'm not picky about how it looks when someone is showering -- they're the only ones that will be in there anyway. ;) I really love how these look hanging on each side. And that glorious light can still come through. 💓
By the way -- ignore the half painted walls, the long curtains (they will not touch the ground when I'm done) and the wrinkled liner. It will all come together and look much better for the reveal!
I hope this makes sense! If you have any questions let me know! I thought it turned out cool without spending a ton so I wanted to share with you. I'll be back tomorrow with a outside reveal I've been dying to show you! :)


Comments
Post a Comment