Whoop! I finished up my first DIY project in this house! One that involves tools and paint and stain (I love working with Minwax on these projects!)...it felt good to get my hands busy again! (At least on something other than opening boxes!)
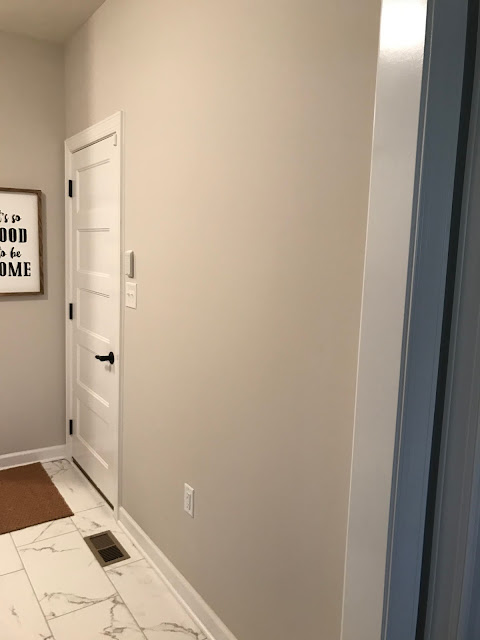
There's a large wall next to our garage door that was just calling for something big. I've had this project in mind for months, really since we first decided to buy and finish up this house. This one is a total repeat (with a little extra detail) from our last house and it won't be the last project I do over in this home!:
Chalkboards are such a cute and easy DIY and that's why I keep sharing them with you! This is a GREAT weekend project -- I knocked out over a couple days and it took me a few hours. This is a perfect starter project for those of you who are dipping your toe into the DIY/tool pond.
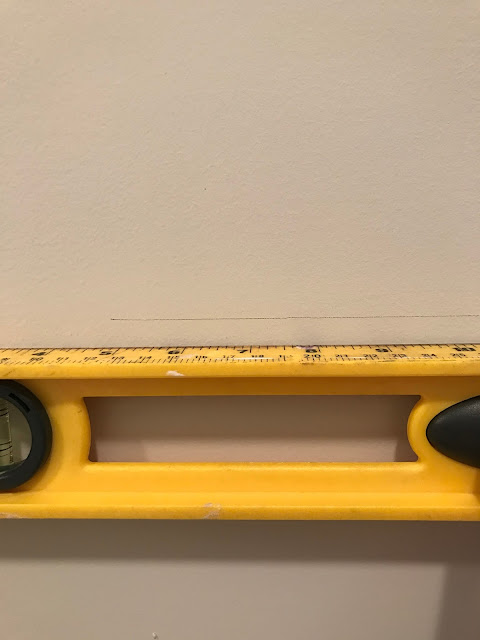
First up, I used my level to mark a big box on the wall:
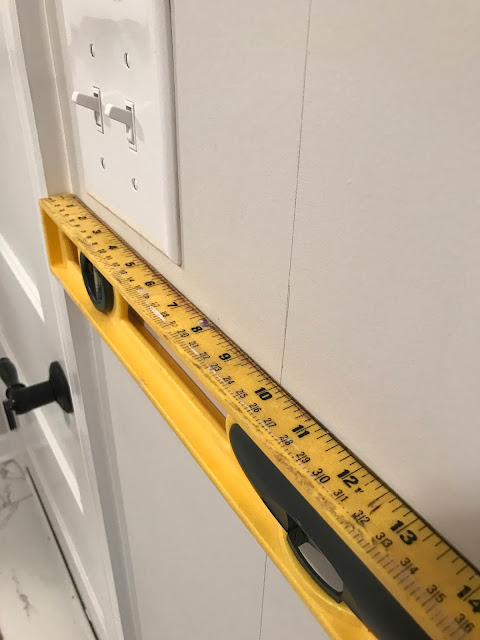
I wanted the box to be centered on the wall, so I kept the lines the same distance from either side:
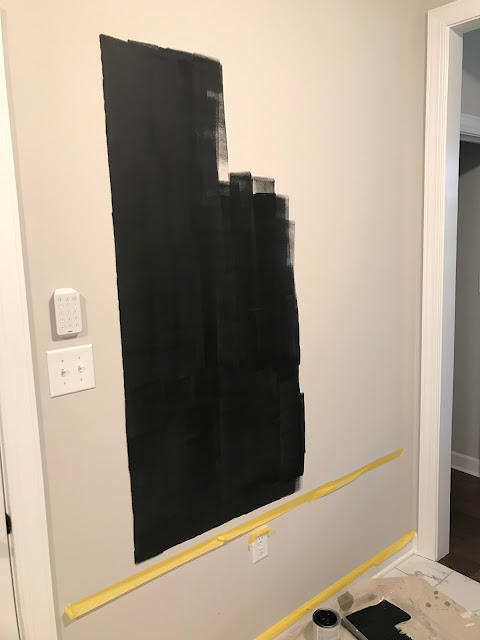
You can find the chalkboard paint at any hardware store. It comes in quarts and lasts forever.
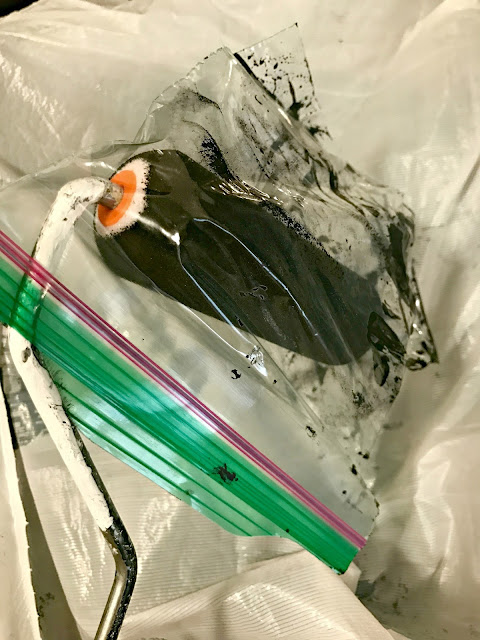
Here's a quick tip -- place your paint supplies in baggies in between coats! Mine last for days if I wrap them up well enough:
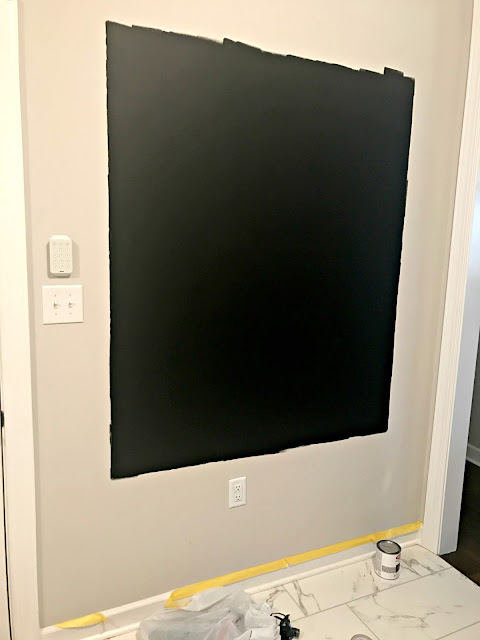
I did two coats total but it just depends on the coverage -- make sure you don't see the wall color peeking through:
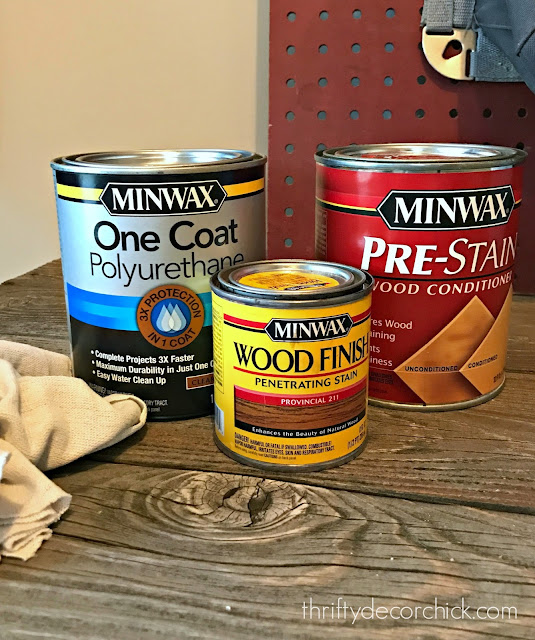
While I waited on the paint to dry I started the next phase of the project -- the stain! These are the products I used for this one:
The Provincial color has become a favorite of mine over the past year or so. It's a great in between brown -- not too dark. And since I use pine a lot because it's such a deal, Provincial always looks great on it.
I can't stress enough how important it is to precondition your wood. I didn't do this much till a few years ago and I'd get inconsistent coverage when I didn't use it. This really does help to create a good base for your stain. Just brush or wipe it on your wood and wipe off any excess. You can stain immediately after:
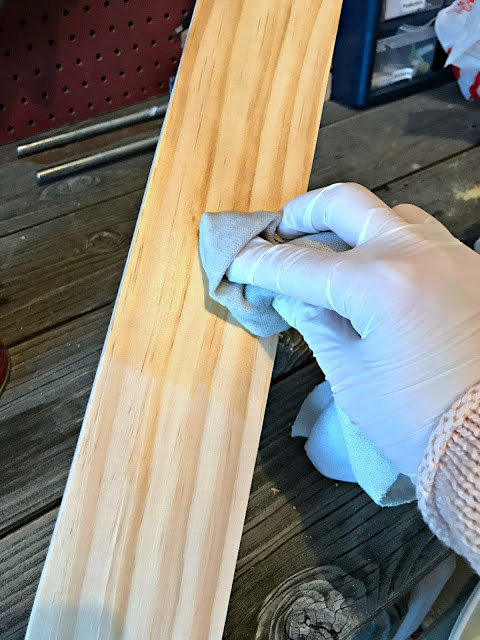
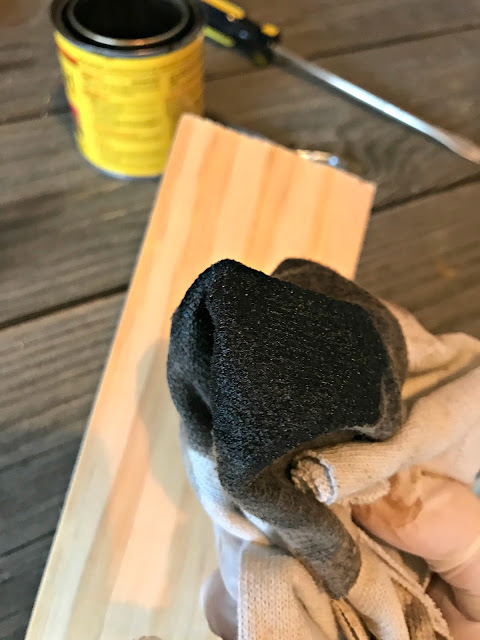
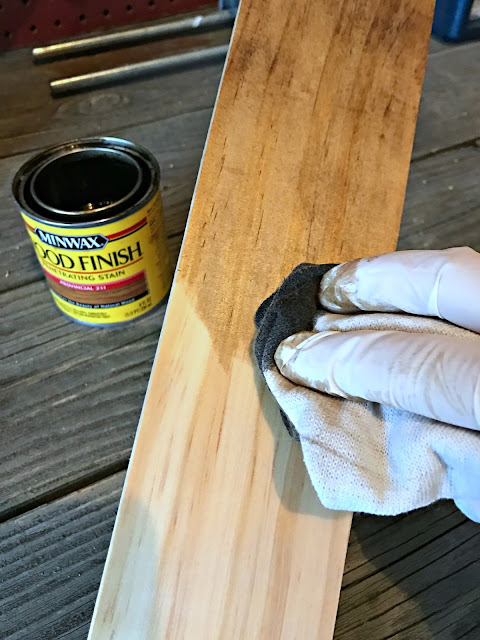
I usually use a foam brush to apply stain but lately I've liked the ease of wiping it on instead. You'll definitely want to wear gloves if you do this, as it gets messy!
I love that I can really work the stain into the wood this way. I just dip the rag in and rub on:
I let the wood dry well and then cut it down to the sizes I needed. This is were I went old school! I still can't find my saw -- I'm pretty sure it was lost in the move. (Such a large, heavy item to get lost in the shuffle though, so I'm still hoping it turns up.)
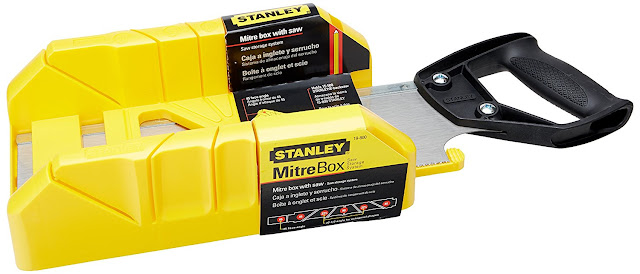
I had to use my trusty miter box and saw for the cuts:
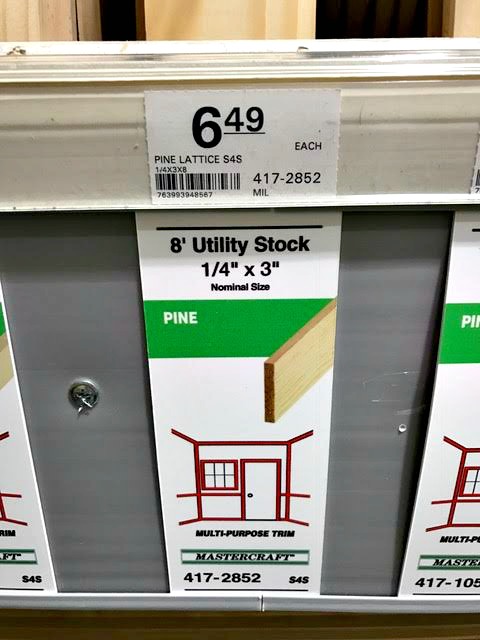
This is the one I use and I've had it for years! The wood I used for the frame is lattice trim from Menards:
It's super easy to cut. I love that you don't need big time tools to accomplish this project!
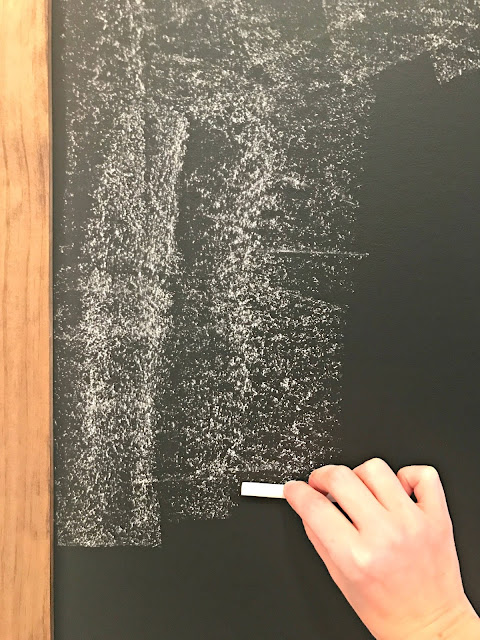
Before you use any chalkboard you need to season it, which is just turning your chalk sideways and running it all over the board. It allows you to write on it and then erase well:
I "erase" my board with a wet rag after this process and to clean it off later as well.
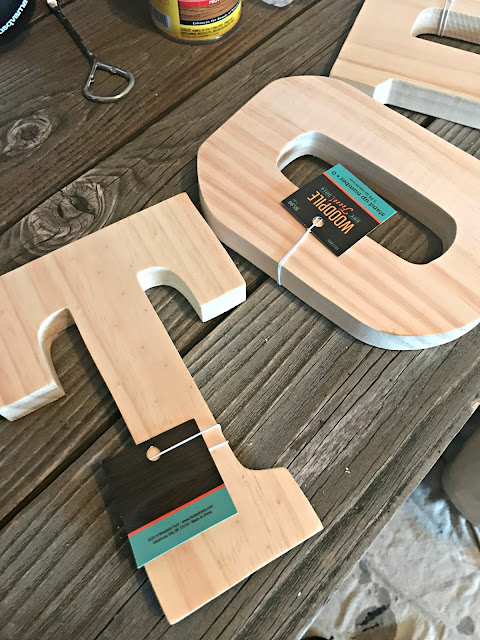
I had a cute little idea in mind for the board, so I grabbed some wood letters from the craft store:
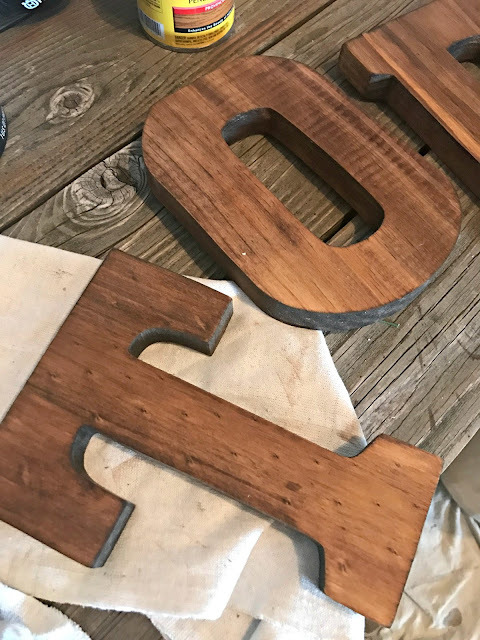
And stained them in the same color, Provincial:
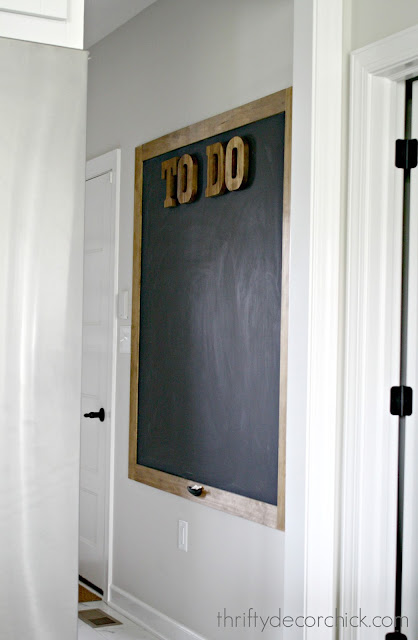
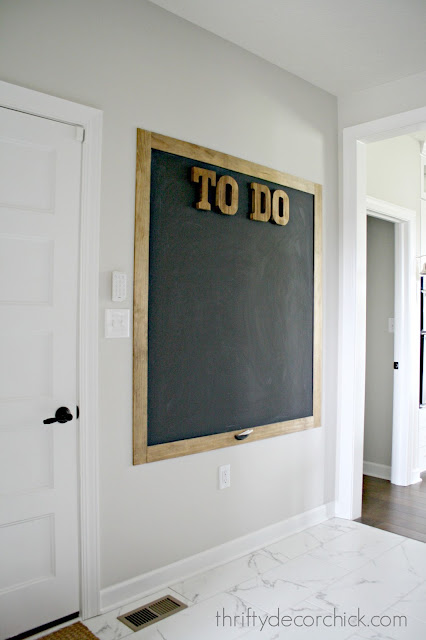
Then I hung them at the top of the board and tah dah! It was done!:
Oh, I forgot that I added my chalk "holder" at the bottom -- which is really just an upside down cup pull that I hot glued on the trim. :)
I did use my nail gun to install the trim, but a hammer and nails would do the job too. You don't need a ton of nails for this lightweight wood:
Soooo, now I want to have a light run above it. Wouldn't that be cute?! I can't stop thinking about how it would finish it off, so you may see that added someday. :)
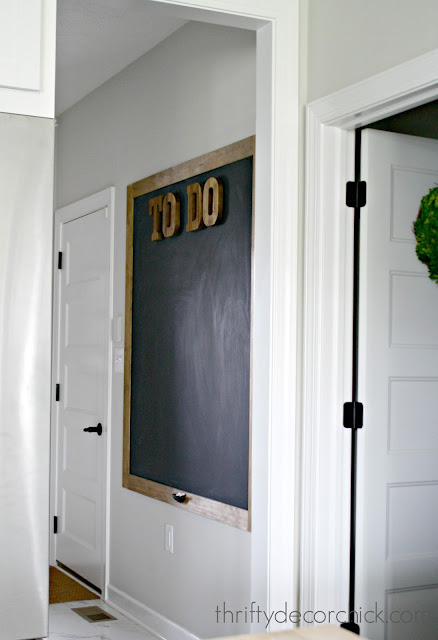
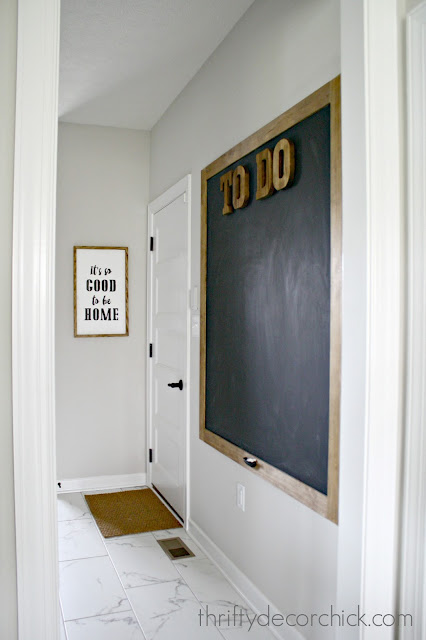
Check out the full tour of this room if you missed it last week! I almost went longer with the chalkboard, down to the baseboards, but I asked the family and they all agreed that it needed to be shorter. I'm so glad I followed their advice! Love it!:
And yes, we really do use the boards. Our son and his friends use it a ton, and it's just a fun addition in the house. I just can't get enough of the black and stained wood mix. It always gets me!
Here's a reminder of the before (taken at night so the color looks different):
If you have a wall treatment or textured walls, you can follow this tutorial for a chalkboard over uneven walls. It's nearly as easy!
I had the paint, stain and the cup pull so this project was just the cost of the trim and letters for me -- under $40! Not bad for such a big statement piece on the wall. Have you tried this project in your home?
Check out a few more of my favorite projects I've completed with the help of Minwax! (Just click on the description under each photo):
Affiliate links included for your convenience!
This post is sponsored by Minwax. I only share brands I love and use with you!


Comments
Post a Comment