I'm so excited to share this project with you all! I wanted to wait until I was completely done hanging this peel and stick wallpaper before I shared the tutorial. I told you last week about some of my DIY plans for the house and how I planned to use (affiliate) this wallpaper from Target:
The online reviews were pretty good so I figured it wouldn't be too bad to install. But then a couple of you said it was a pain so I got nervous. Ha! Well I'm pleased to say it went really well and I'm super impressed with this stuff so far.
Here's a recap of how I cut and hung it, because it is different than regular wallpaper. It's like contact paper so it comes with the plastic backing. The only thing I would change is that part -- I SO wish there was a grid pattern on the back to help with straight lines!
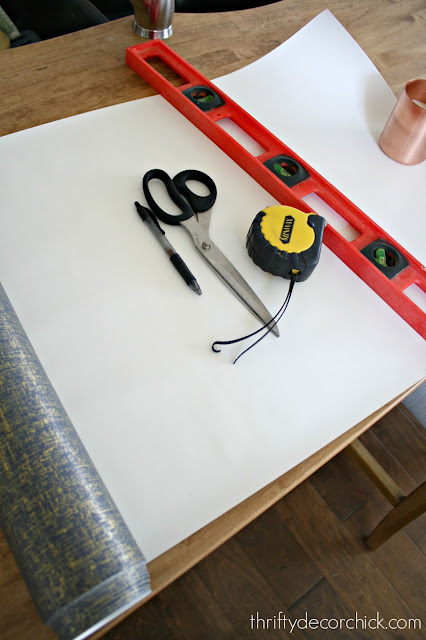
This is what you'll need:
I used a level for a straight edge, measuring tape, a pen and scissors.
I was only installing this around the top portion of the walls so I didn't have to be super precise with my measurements -- the top and bottom will be covered with trim.
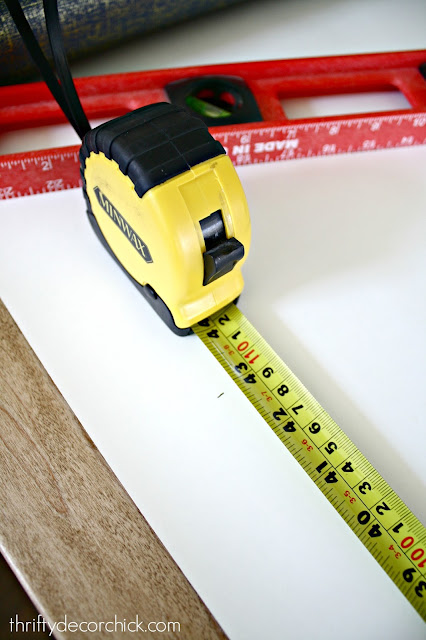
I measured down the length of the paper and marked that measurement at a few places across the back:
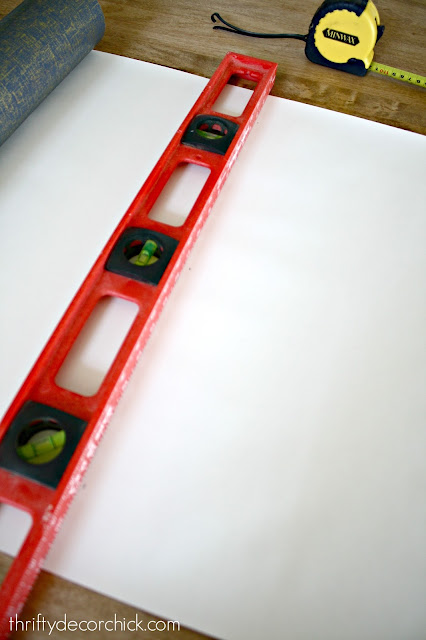
That way I could use my straight edge to draw a line for cutting:
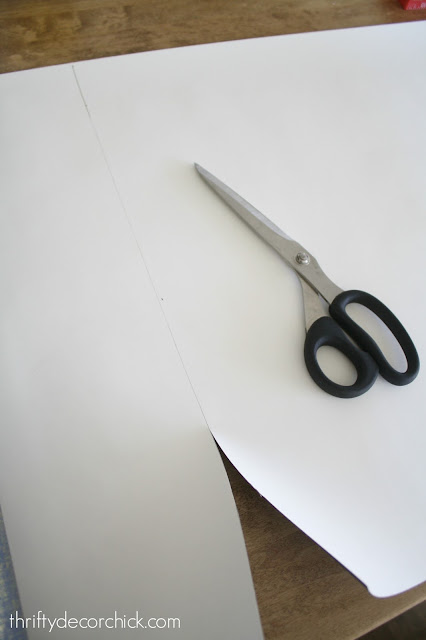
Sorry for the blurry pic -- my camera is acting up!
I watched a video one how to install this product and they suggested placing some cardboard on the floor and using a level and razor to get a straight cut. We don't have any floors I would dare use a razor on -- even with some cardboard underneath. So I just cut it with scissors and it worked fine.
My lines weren't perfect but since I'm covering the bottom with trim and the top will be under crown molding, I wasn't worried about it. If you aren't planning on covering your edges, you may want to try using the razor and a straight edge at least for the top of the wall. (At the bottom you can use a razor to trim it off at the baseboards.)
I started over the door -- it was the smallest part and also the most inconspicuous. I didn't want to start on the first wall you'd see when walking in! ;)
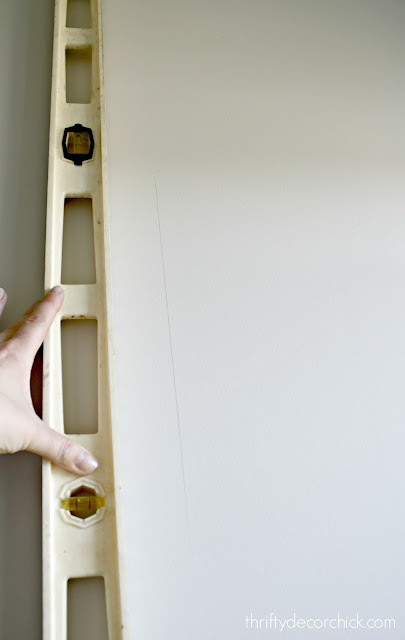
I'll share a list of specific tips at the end of this post, but as I went around the room I realized how easy it was for the pieces to start get a little wonky. I started using a level to draw just a bit of a straight line to see how straight each one was hanging:
As long as the wallpaper was similarly spaced against that line I knew I was good.
OK some of you will hate me for this...but I actually found this kind of fun. It was oddly satisfying -- like painting a room a little bit at a time and seeing it transform bit by bit. The first few seconds were definitely the hardest -- getting the piece to match up to the one before. But when it was right then it was just a matter of spreading it on and getting any bubbles out. (That part was fun.)
They suggest using a squeegee but I just used my hand -- worked great. The bubbles are easy to work out and I didn't have many anyway. You can easily pull the paper back up to get bubbles out too.
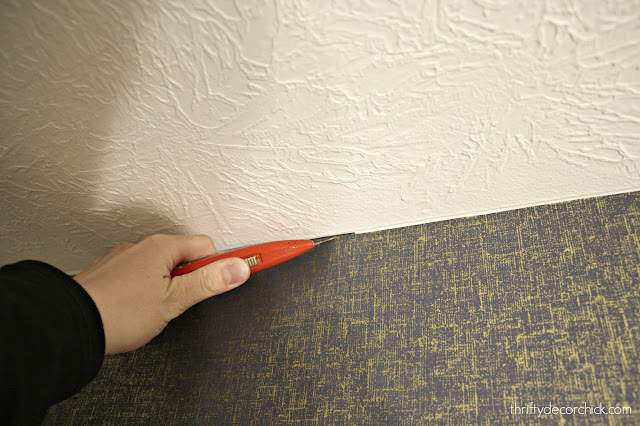
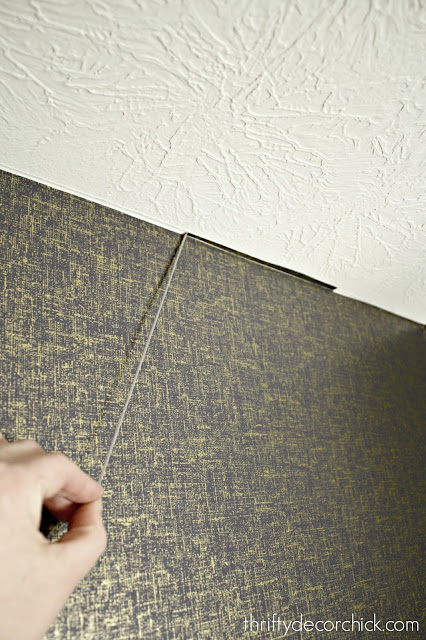
Even though I'm adding crown molding, I did end up trimming the tops just because they were bugging me -- you just take a razor along the corner to trim them up:
Those pieces peel away easily after cutting:
That's the same process you'd use along baseboards too.
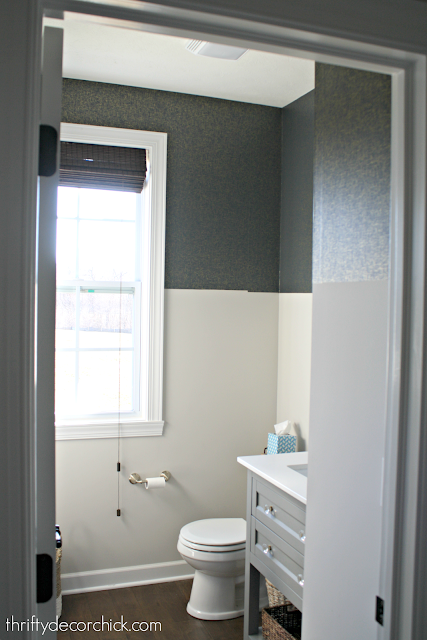
It's obviously not even close to done, but I like taking you on makeovers step-by-step! Here's how it looks now:
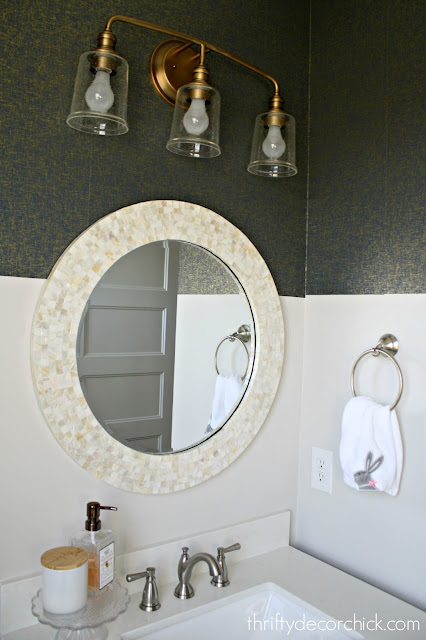
We LOVE how it looks!! I'm so happy we like it! 😂 It's turned this bathroom into a little jewel box -- I can't wait to see how the rest comes together! I just love it with the light fixture and the mirror:
I'm not sure how regular wallpaper works (I've only ever used it for artwork, not on walls), but I tried wrapping the inside corners with one piece and it was WAY too difficult. With wallpaper I'm sure it's easier to scootch around.
So for these corners I would just cut to the size needed and then start with a new piece on the other wall:
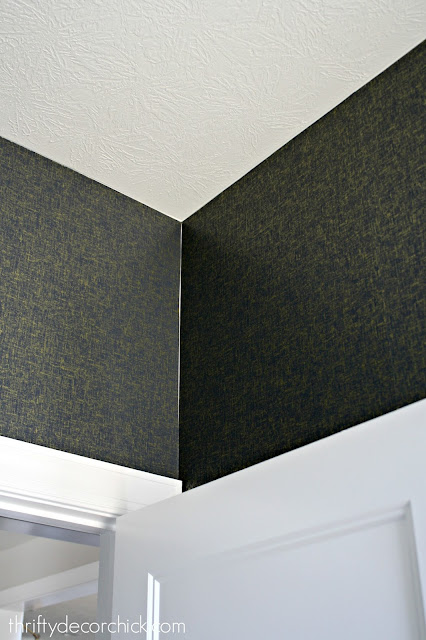
You can see just a slight bit of the wall color in some spots but I'll paint those a dark blue and I think they'll totally disappear. (Target sells paint that matches their wallpaper by the way.)
I only had one outside corner to do and that one I wrapped around the corner.
It is NOT perfect, that's for sure. I gave up perfection in my 30's so it doesn't happen much around here anymore. ;) But as I always say -- if anyone is that good that they notice the slight imperfections then they get a COOKIE. But if they notice in and then tell me they noticed it...maybe they won't get one cause that's kind of rude. Hmmm...
Here are some tips and my thoughts about this stuff!
- This particular design is EXTREMELY forgiving. Thank goodness! It's so great because you can put any two pieces together and you really don't see a break at all.
- You'll see more imperfections with the lights on or in direct sunlight than you will with lights off. You can see where some pieces overlap a bit, but you have to look for it. Even unforgiving wallpaper shows seams so it's something you just need to consider.
- I did learn as I went to cover the seams in a certain direction -- some spots you can see the edge of the paper (because I overlapped them slightly to make sure if they expand or contract you still wouldn't' be able to see the wall). If you work with the light sources in the room you'll see how it works better to overlap in certain directions (away from the light).
- This wallpaper is basically contact paper and you can peel it away and restick over and over. A few I put all the way up and then completely removed to rehang once or twice. They still adhere just fine!
- I was nervous to let the sticky back touch any other part of the sticky back because I thought they'd never come apart and be ruined. It happened a few times and they were easily separated.
- I found it was best to peel the backing from the top and a corner and then fold the paper back so it wouldn't get in my way. Then once I had the top section right, I'd start peeling the rest of the backing off as I went down the wall. Sometimes it didn't meet up right so I'd have to take the whole thing down and start over. But again, it keeps it's stick just fine.
- For the skinny parts next to the window and door I installed the paper above, and then just cut a smaller strip for down the side. You can't tell at all that they're not all one piece.
- I hung a few strips and left them up for a couple days before finishing the majority of the work. Just to make sure they stayed up!
Even though I didn't find this too difficult, I can see how doing the whole length of the wall would be a LOT harder. If you try it I recommend a smaller part of the wall like this, and definitely a forgiving print as well! At least for you first try. :)
If you have any other questions, let me know! Now I'm on to phase two -- paint and molding!
Have a great weekend everyone!


Comments
Post a Comment